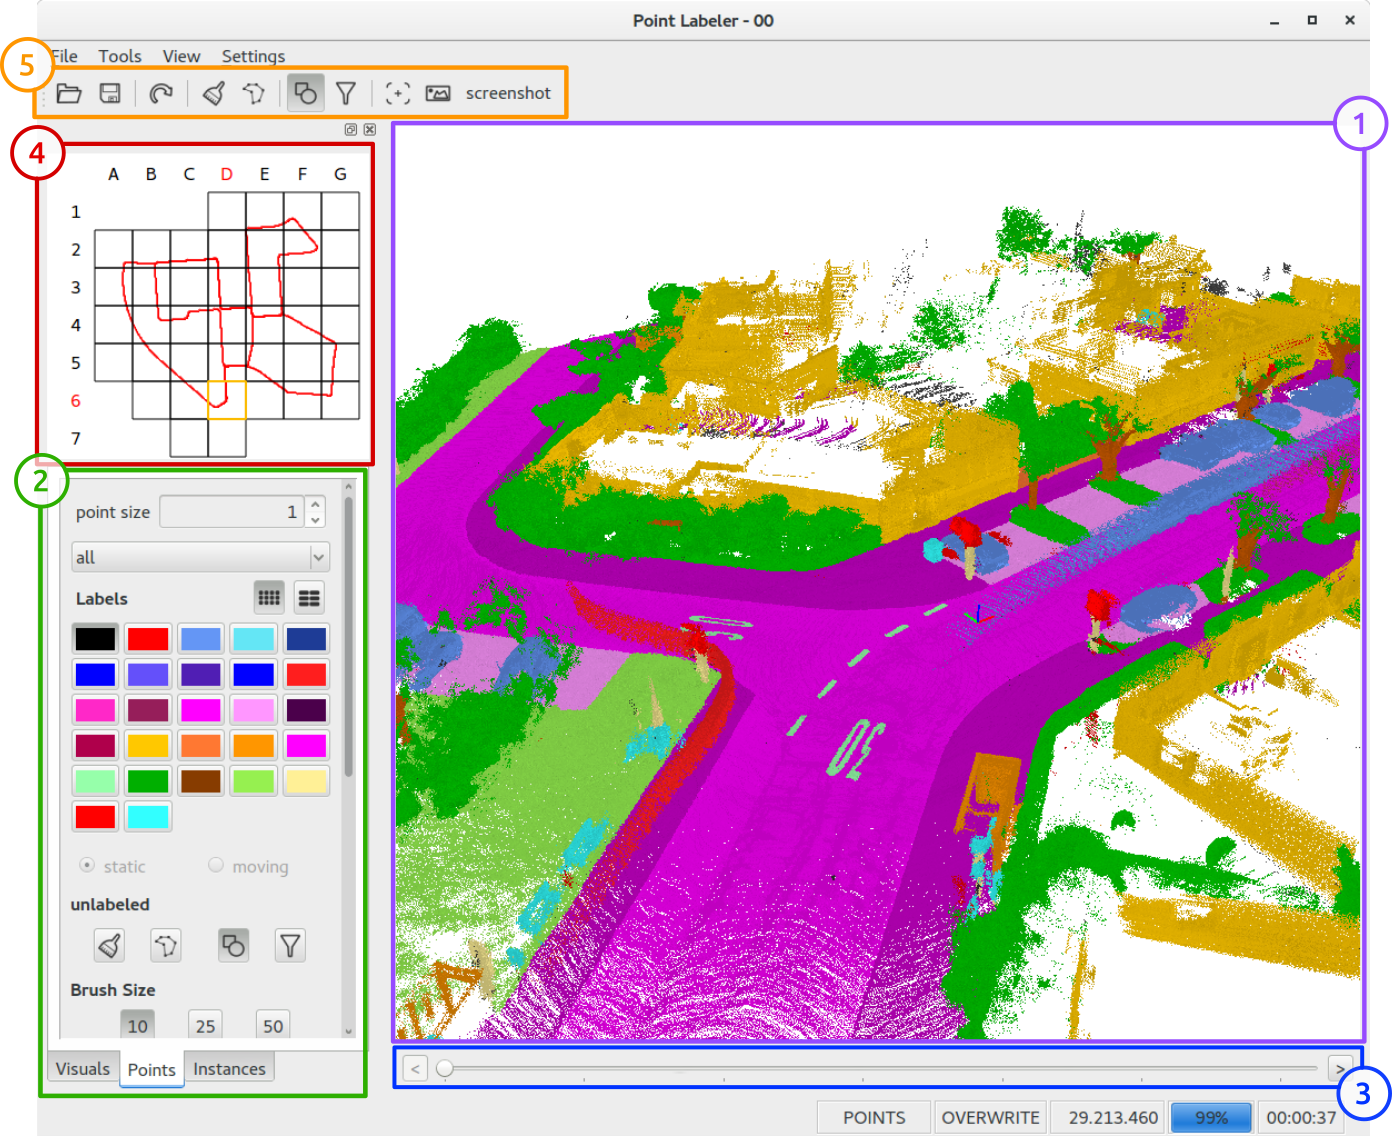
build point labeler on windows
This is a tutorial about cross-compile point_labeler on Windows.

Install QT
Get the Qt 5.14.2
Get the corresponding MingW
Install Glew
Configure MingW
credit: Bhargav Chippada
After extracting, copy the mingw64 folder to C:\
Add C:\mingw64\bin to the Path of the System Environment Variables. Guide: How to add to the Path on Windows 10.
Also, Add C:\mingw64\x86_64-w64-mingw32\bin to the Path of the System Environment Variables.
Open Command Prompt and execute g++ --version to see the version.
Install CMake
CMake is a cross-platform family of tools designed to build, test, and package software. It will be used to generate MinGW makefiles required to build and install the following libraries: Freeglut and GLEW.
You can download and install CMake from here
__Note: Check the option to add CMake to the system Path. If you didn’t then find out where it’s installed and add it’s bin folder to the system Path. For instance, in my case, it was C:\Program Files\CMake\bin
Install FreeGlut
Download the latest Freeglut from here. I downloaded Freeglut 3.0.0. It must be a tar.gz file so you might have to extract it twice using 7-Zip.
Go to the freeglut folder (it should contain CMakeLists.txt file) and open the Command Prompt at this location to execute the following command:
cmake -G "MinGW Makefiles" -S . -B . -DCMAKE_INSTALL_PREFIX=C:\mingw64\x86_64-w64-mingw32
Next execute:
mingw32-make all
mingw32-make is part of the C:\mingw64\bin suite
__Note: You might get a lot of warnings but don’t panic.
Finally execute:
mingw32-make install
so that the include headers, lib and bin files are copied to the corresponding folders of CMAKE_INSTALL_PREFIX (which is C:\mingw64\x86_64-w64-mingw32)
Install Glew
The OpenGL Extension Wrangler Library (GLEW) is a cross-platform C/C++ library that helps in querying and loading OpenGL extensions. GLEW provides efficient run-time mechanisms for determining which OpenGL extensions are supported on the target platform. Source: Wikipedia.
The steps to install GLEW are similar to Step 4 (Installing FreeGLUT)
Download the GLEW 2.1.0. Extract the compressed file.
Go the glew folder and search for the location of CMakeLists.txt
It’s here: glew-2.1.0\build\cmake\CMakeLists.txt
So cd to the directory:
cd glew-2.1.0\build\cmake
Open the Command Prompt at this location and execute the following command:
cmake -G "MinGW Makefiles" -S . -B . -DCMAKE_INSTALL_PREFIX=C:\mingw64\x86_64-w64-mingw32
mingw32-make is part of the C:\mingw64\bin suite
__Note: You might get a lot of warnings but don’t panic.
Finally execute:
mingw32-make install
Installing boost on Windows using MinGW-w64 (gcc 64-bit)
credit: zrsmithson
Boost is easy when you are using headers or pre-compiled binaries for visual studio, but it can be a pain to compile from source on windows, especially when you want the 64-bit version of MinGW to use gcc/g++. This installation process should be thorough enough to simply copy and paste commands, but robust enough to install everything you need.
Note: if you need to install any of the libraries that need dependencies, see this great answer from stack overflow
Get files needed for install
Get the boost_1_68_0.zip source from Sourceforge
Note: This should work perfectly with other versions of boost as well
Copy these to a new folder
C:\install
It should now contain the following two files
boost_1_68_0.zip
Install boost
Navigate to install
cd C:\install
unzip to “install/boost_1_68_0”
powershell -command "Expand-Archive C:\install\boost_1_68_0.zip C:\install"
This takes about 15 minutes
cd C:\install\boost_1_68_0
Make directories for building and install
mkdir C:\boost-build
mkdir C:\install\boost_1_68_0\boost-build
mkdir C:\boost
Boost.Build setup
cd C:\install\boost_1_68_0\tools\build
prepare b2
bootstrap.bat gcc
Build boost.build with b2
b2 --prefix="C:\boost-build" install
Add C:\boost-build\bin to your session PATH variable
set PATH=%PATH%;C:\boost-build\bin
Building Boost
navigate back up to the boost unzipped root directory
cd C:\install\boost_1_68_0
Build boost with b2
b2 --build-dir="C:\install\boost_1_68_0\build" --build-type=complete --prefix="C:\boost" toolset=gcc install
This is going to take awhile, so try to run this command right before beginning the director’s cut of Lord of the Ring Return of the King.
When this is done you should see the following output

You can now delete “C:\install” and “C:\boost-build”
Adding to projects
Everything should now be installed
Include folder:
C:\boost\include\boost-1_68
Linker folder:
C:\boost\lib
Link required libraries:
e.g. libboost_atomic-mgw81-mt-d-x64-1_68.a
